First I did a little "Googling" on the web for gymnastic images. There were several images that were just silhouettes while there were hundreds of images that could be used as outlines for your silhouette. I selected three poses that I thought would work and saved them to a Pages document.
Then we went shopping ... to Stuff-Mart (aka Wal-Mart)!
For the cake topper, we purchased black foam board and glitter craft spray. We had the rhinestones already. I also bought a thin dowel to use, but I ended up using toothpicks to stick it into the cake.
For the banners, we purchased the fabric (about 1 1/2 yards for each), 2 dowels (one for each) and the ribbon (complimenting our colors). We had on hand the black acrylic paint, rhinestones and letters from a paper craft bin.
First my mom hemmed the pink fabric and sewed a sleeve on top for the dowel to slide into. While she was working on that part of the project, Allison and I started the cake topper.
We printed the silhouettes on computer paper and then used my mom's projector. The projector makes it very easy to shine the silhouettes up on the wall and then trace them. We traced the cake topper silhouette on white paper first and then outlined that on the black poster board. (We found that it was too difficult to see the shadow on the black paper, but for the fabric we traced the image directly to the fabric.)
When the cake topper was traced out, I used an exacto-blade to cut along the lines. I then used some sandpaper to smooth out the edges of the figure. Next we took her outside and sprayed both sides with the glitter spray and let her dry. Finally, we glued two little rhinestones on each side right at the figure's pony-tail. Just the right amount of bling!
 |
| She is stuck in the cake with the help of toothpicks. |
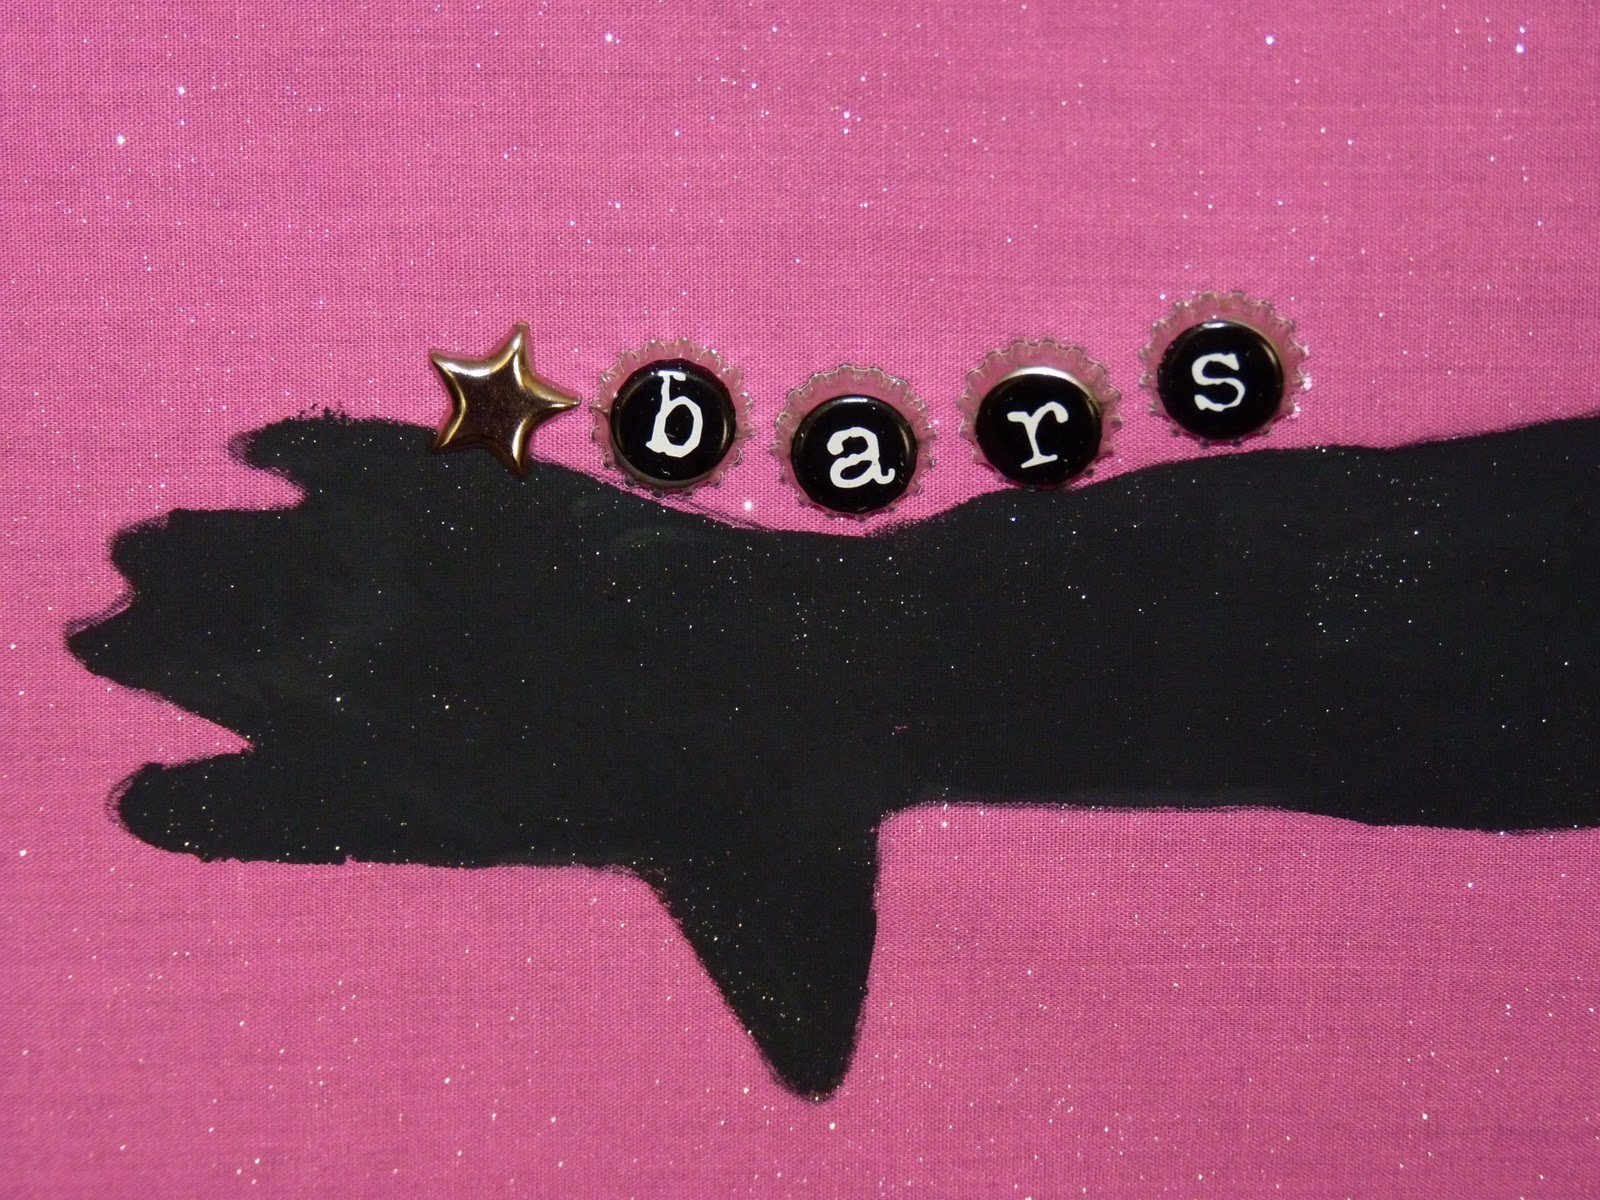
By this point, the sewing was done and we could trace the figures on the fabric. Before we started painting, however, we took them outside and gave them a good spray with the glitter. Then we spread the fabric out on the work-table and painted in the image with the back acrylic paint. We hung them outside to dry. I love the contrast of the hot, sparkly pink and the flat black silhouette. So sharp!
Next it was time for the words. We used three different letter brads and spelled out 10 different gymnastic terms: handstand, cartwheel, leo, splits, etc. Then we spelled out the words along the curve of the image. Once we had the letters placed the way we wanted them, we glued them in place with our trusty glue-gun. (Actually this was a lousy glue gun, but it still did the job!)
 |
| Pointy Toes! |
 |
| Saluting Hands! |
Then it was time to hang them. We slid the dowels into the sleeves on top. We cut the ribbon to the right length (leaving some to hang down). To glue it to the dowel, we applied a generous amount of hot glue to the end of the dowel and wrapped the ribbon around the front. If you looked at it from the back you would see the seam where the ribbon is gathered around the front.
Finally it was time to embellish a bit. We had some large rhinestones that we clustered in the corners and hot glue gunned in place.
Ta-dah!
 |
| On the Balance Beam |
 |
| A Back Kick-Over |
We will hang these on Norah's side of her room ... to help make it a little special for her.
While our banners are very girly, you could easily do the same for a boy. Any silhouette will do and then the appropriate fabric, embellishments a paint. I could picture a banner with a silhouette of a baseball player swinging his bat or a guy on a mountain bike ... just imagine! :)
Hope this inspires you to get creative!
Will you make me one for my next birthday?!? :-)
ReplyDeleteSure! What should I put on it? Hmmmm ... thinking, thinking, thinking :)
ReplyDelete